
May 4th 2023 - Team
Steps on How to Roll Silverware in a Napkin
Hosting a dinner party and want to add a bit of spruce? You can try folding a napkin around silverware for that extra spice on your formal dinner table. Find out how this easy, chic move might liven up your next dinner gathering.
Steps on How to Roll Silverware in a Napkin
It's easy and simple to store silverware on a paper napkin roll. You'll need a napkin and your chosen flatware to pull this off. Napkin bands are optional but can make for a more presentable presentation.
Follow these directions to learn how to properly roll your silverware in a paper napkin.
- Step 1: Spread out your napkin as a first step.
- Step 2: The knife should be positioned so that the blade is diagonal to the napkin. The best results can be achieved by extending the knife point past the napkin's corner.
- Step 3: Additional cutlery should be set out. The fork should be stacked directly atop the knife, followed by the spoon. Once in place, the handles of the three tools should be parallel to one another.
- Step 4:The napkin should be folded at the bottom corner while the silverware is being held in place with the other hand. It should fit snugly over the ends of the cutlery.
- Step 5: Fold the corner to the side to keep the cutlery in place. Napkin in hand, fold the corner in toward the center to create a partial cover for the handles. Wrap the napkin around the silverware securely, but not too firmly or it can rip.
- Step 6: Roll: After completing the twofold, roll the cutlery away from you.
- (Optional) Use a paper napkin band to keep the napkin in place and stop it from unraveling. These adhesive bands not only hold your silverware in place but also provide an aesthetic touch.
What You Need:
Silverware

Each place setting needs a minimum of a dinner fork, salad fork, dinner knife, teaspoon, and soup spoon. Additional items, like fish forks or butter knives, can be wrapped as well.
To produce a polished look with everything nestled neatly inside, the napkin's dimensions should be in keeping with the length of the cutlery. You may also add a particular touch to your tablescape by selecting hues that complement your color scheme or dinnerware.
Bon Chef S1000S
Napkins

After settling on a formal place setting, the next step is picking out the right size napkin to utilize for forks, knives, and spoons.
Napkins for a casual supper should be on the tiny side, measuring 5 inches square. However, if you're going for a more formal vibe, 7-inch-by-7-inch napkins are your best bet.
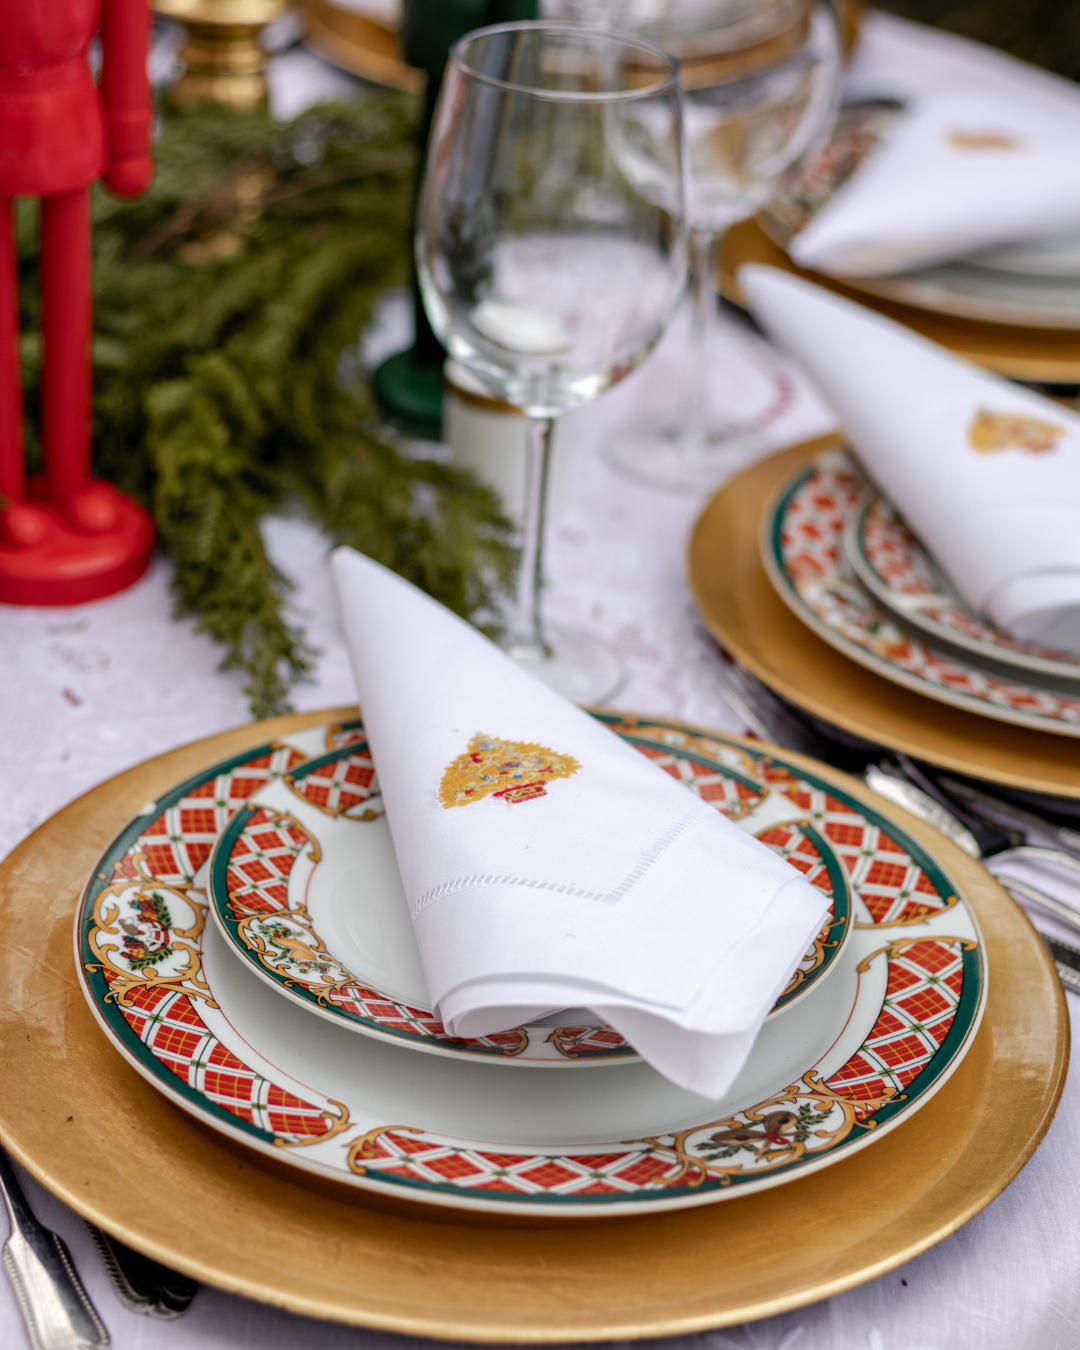
Select a fabric in a hue or design that harmonizes with the rest of the tablescape and perhaps even the ribbon used to adorn the backs of the chairs. Bold striped designs provide a festive touch, while swirls assist deliver subtle drama; choose solid colors for a simpler wrapped aesthetic.
If you want your finished product to stand out, it's important that the materials you use complement each other not only in color and design but also in texture. To achieve this, try combining knots with ribbons of varying widths.
Dinex DXCTCADNS1041 Napkin Sleeve
How to Prepare the Napkin
Napkin preparation is the key to a neat and presentable wrap for your silverware. The silverware must be able to fit comfortably inside the napkin, thus its size must be appropriate.
Before you start, napkins should be ironed and folded to your specifications before being presented to guests. Now, let's talk about the most effective method of wrapping silverware.
Folding the napkin in half

- Spread out flat on a dry surface.
- Fold the napkin in half along its longest side to make a rectangle out of a square or round napkin. If the shape is already rectangular, skip this and continue.
- When you've folded the napkin in half, use your hands to iron out any wrinkles and square off the edges.
- Then, unfold your napkin and turn it so that one of the folded ends is facing you.
- Put it back down, and you're ready to wrap your silverware!
Folding the napkin in thirds
Napkins can be folded in thirds for a quick and tidy manner to cover the silverware.

- Start with a square or rectangular napkin, fold it in half lengthwise so that the short ends meet, then fold it in half again so that the long ends meet and the napkin has three uniform folds.
- Once the napkin has been folded in thirds, the silverware can be placed at one end, and the roll can begin.
The completed package should resemble a burrito, complete with folded-over edges and a nice appearance.
Placement of the Silverware
Arrange the dinner fork and knife so that their tines are facing up and their blades are facing down in the center of the napkin. Each can have its handle angled ever-so-slightly away from the other, toward one of the napkin's upper corners.
Other Methods to Wrap Your Silverware
Here are some of the most common ways that napkins are used to encase silverware:
Wrapping the napkin's top around the flatware
- Holding the napkin and the silverware together in one hand, fold over the napkin's top corner. The purpose of this is to make a tight enough seal that the silverware won't fall out when the dish is served or passed around the table.
- Make sure the napkin is securely folded by pressing down lightly on the edges with your free hand as you go.
Tuck the napkin's edges around the flatware
- Start by dividing a napkin in half. Napkin etiquette calls for the fork to be placed on one end and the knife on the other of the napkin, lengthwise.
- Each implement's handle needs to be upright.
- Napkin ends should be tucked neatly in and the napkin should be wrapped around the silverware.
- To prevent any of your cutlery from being seen by your guests, stack the ends on top of each other without overlapping.
- Wrap one end of the napkin over the silverware, then fold the other end over it to secure it.
- Final touches on a presentation include reinforcing any weak spots in the wrapping and reinforcing any frayed edges.
Wrapping the flatware in a twist to keep it safe.
After the napkin has been folded and wrapped around the silverware, a twist is used to keep everything in place.
- To achieve this, take the napkin with the silverware inside, fold it over 1–2 inches onto one side of the bundle, and then wrap the other side around once.
- Now, with the two ends joined on one side, twist them hard in opposite directions several times.
- Make sure you've tucked the ends of your bundle beneath itself to keep it from unraveling. You may prevent your silverware from falling out of your napkin bundle by using this method. A simple twist would be fine, but a more secure one will help keep everything neat during the service.
Final Touches
Embellish with a ribbon
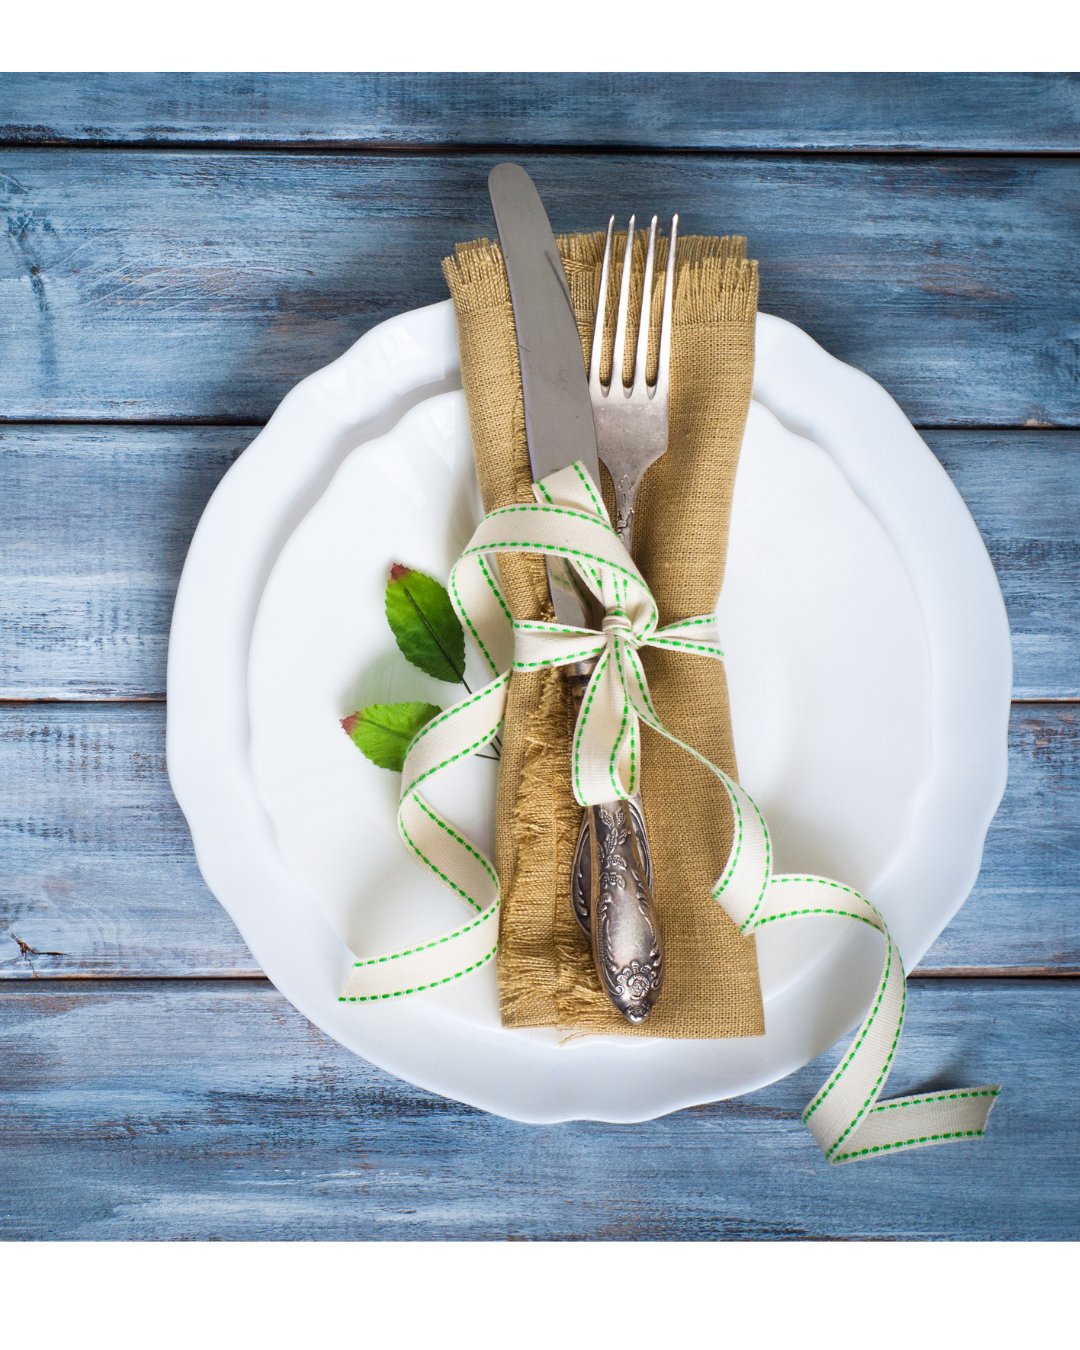
Ribbons, cords, and other trimmings can be attached in a variety of ways to complete the ensemble.
Napkins made of fabric look best when bundled together and presented with a bow made of a bright ribbon or cord. The smaller the package, the narrower the ribbon you should use, and vice versa for larger packages.
Wrapped wire or a silk bow can be used to give your napkin bundle an elegant finishing touch.If you're in a pinch and don't have access to fancy cords and ribbons, you can skip the embellishments and simply tuck one end of the fabric napkin tightly into your bundle, as if you were wrapping a gift.
Artificial flowers can be a lovely addition to each place setting when hosting special events like weddings or dinner parties. These delightful extras round out the presentation and lend a touch of class to any dinner table.
Be sure to avoid crushing the artificial flowers by not wrapping them within the finished bundle, and instead clasp them in place over each set of rolled silverware before presenting them on top of dinner plates.
You'll be thrilled with how polished and complete these adorable handmade packages look when placed at each place setting.
Using Greenery
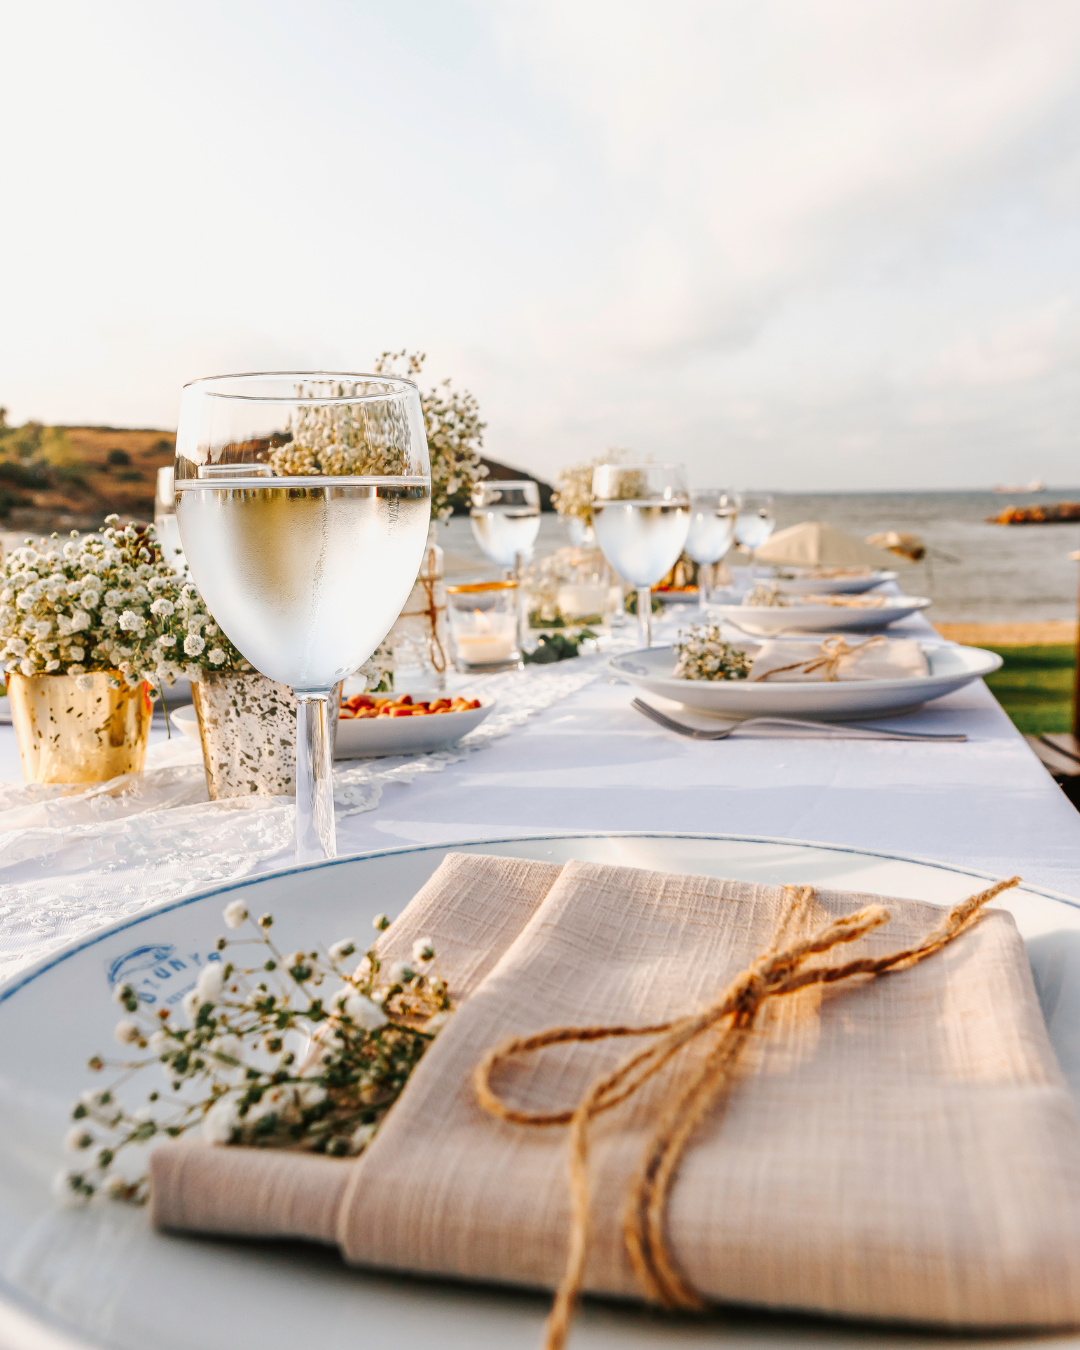
Putting the finishing touch on your napkin-rolled silverware by adding a sprig of greenery is one option. A little sprig of rosemary, for instance, can lend your tablescape an earthy, herbal scent that will stay with your guests long after dessert has been eaten.
You can also include parsley for a more grounded aroma, or lavender for a touch of floral sweetness. Small, brightly colored flowers interspersed with the flatware, like pansies or geraniums, can add a nice touch as well.
Be careful not to overdo it with the herbs or flowers you choose; you want them to be a tasteful addition rather than a focal point. The great garnish shouldn't steal the show but rather complement what's already there.