
Jan 23rd 2023 - Team
How to Use a Waffle Maker: Best Tips on How to Use One and More
Who does not like waffles? Waffles made with a waffle maker are sure to add cheer to your weekend hearty meals! We can help you maximize your waffle maker capabilities! Read on how to use a waffle maker, types of waffle makers, and tips on how to make the best batches!
How to Use a Waffle Maker
- Step 1: The Batter
- Step 2: Preheat
- Step 3: Grease
- Step 4: Pour But Don't Overfill
- Step 5: Close the Lid and Set a Timer
- Step 6: Enjoy!
Step 1: The Batter
The first step, as you might expect, is to make your waffle batter and you can even make a batch in under five minutes. Furthermore, you most likely already have all of the ingredients in your kitchen pantry.
Here are the Ingredients that You Will Need:
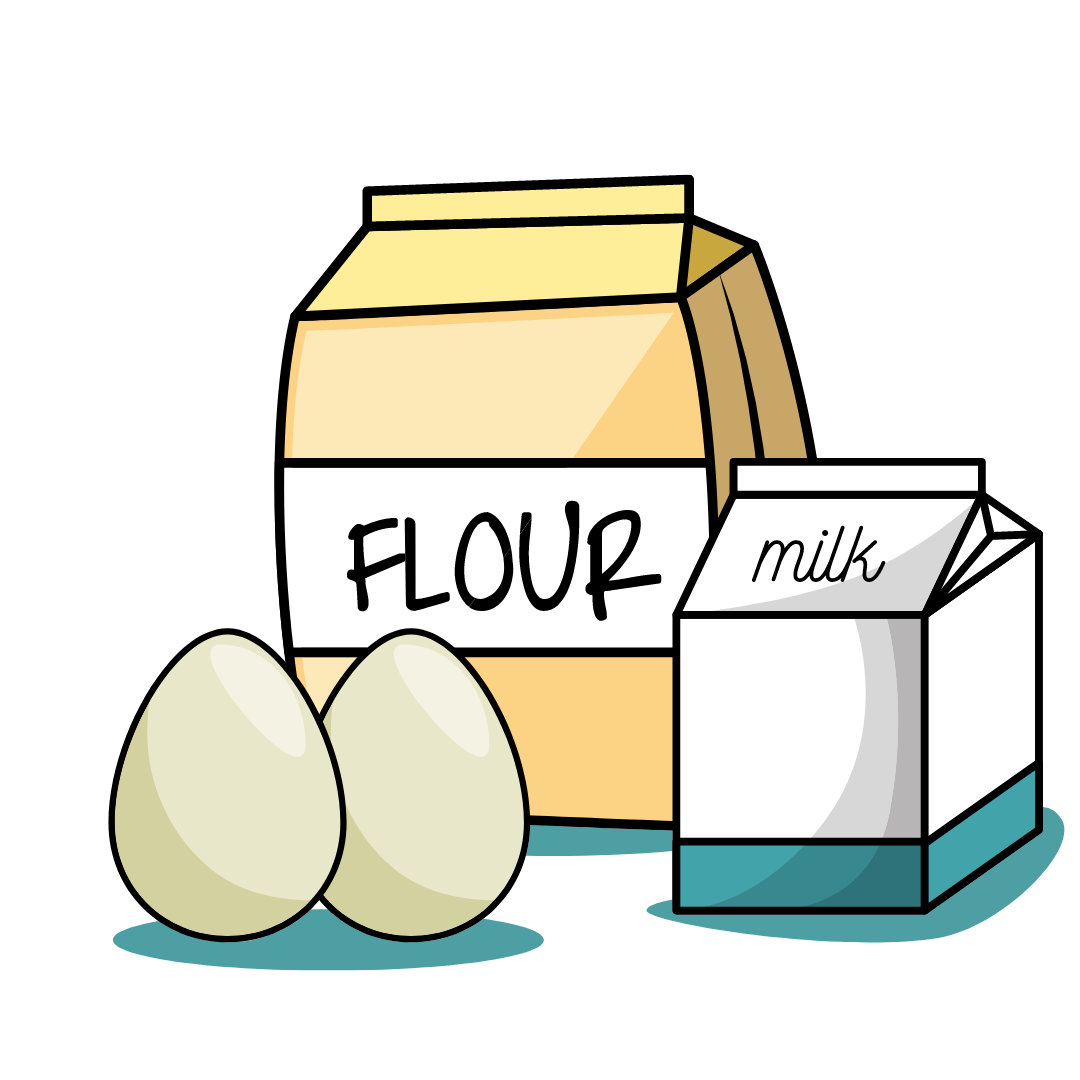
- 2 cups of all-purpose flour
- 2 tablespoons of white sugar
- 4 teaspoons of baking powder
- 1 teaspoon of salt (to bring out the flavor)
- 2 eggs
- 1.5 cups of milk, warm
- ⅓ cup of butter, melted
- 1 teaspoon of vanilla extract
To make the batter:
- In a large mixing bowl, combine all of the dry ingredients.
- Whisk the eggs in a separate basin before adding the wet ingredients.
- Slowly incorporate the wet mixture into the dry mixture. To integrate, whisk until there are no lumps.
Step 2: Preheat
While you're making the batter, turn on your waffle machine and let it heat up make sure to utilize the majority of waffle machines including an indicator light. It is normally green and illuminates when the waffle plates are hot enough to fry and this is a useful feature to have because you'll always know when to go to the following phase.
Check to see whether steam comes out of an earlier waffle iron model that lacks an indicator light and when this happens, the waffle maker is ready to use.
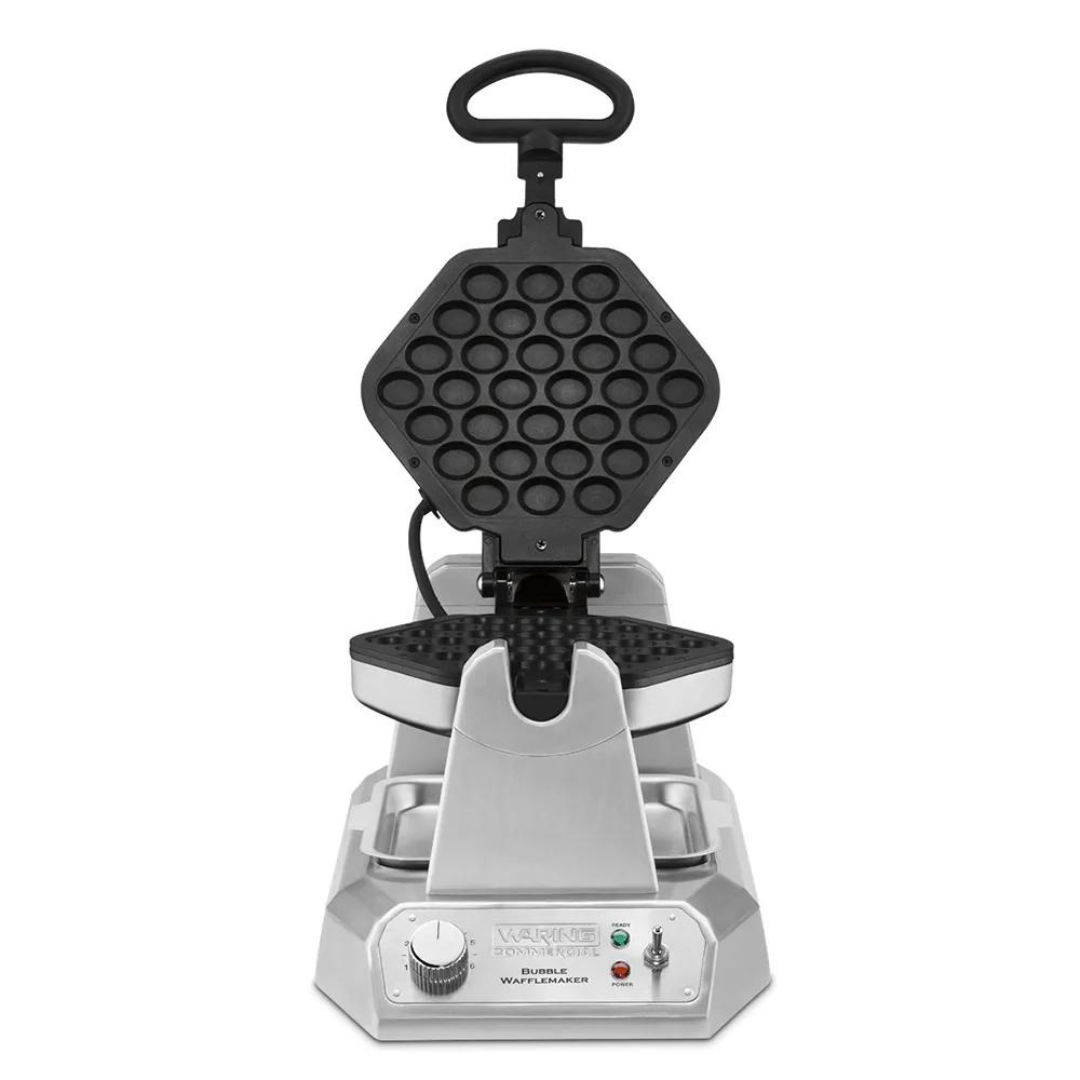
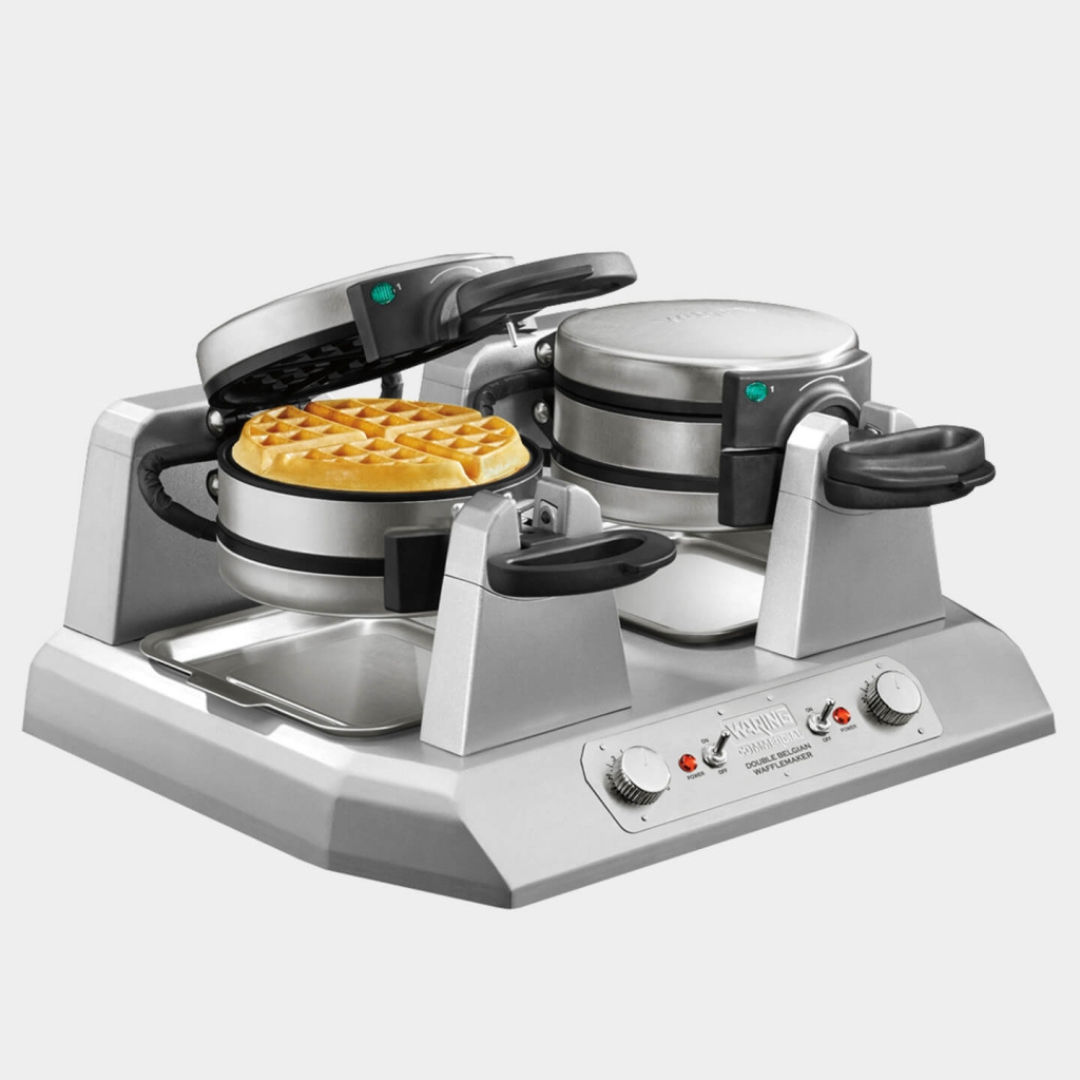
Product Feature: Waring WBW300X
Step 3: Grease
 You don't have to grease the waffle maker plates, but it will assist the waffles to slide off more easily after cooking you could skip this step entirely if your waffle maker has a nonstick surface but make sure the plates' non-stick coating is still intact.
Spray the cooking surface with cooking oil. You can even carefully drizzle it with a light coating of vegetable oil.
If you're managing your fat consumption, you may just avoid using cooking spray on the plates and although a few drops of oil won't make much of a difference, you can skip this step and spend more time washing the plates completely.
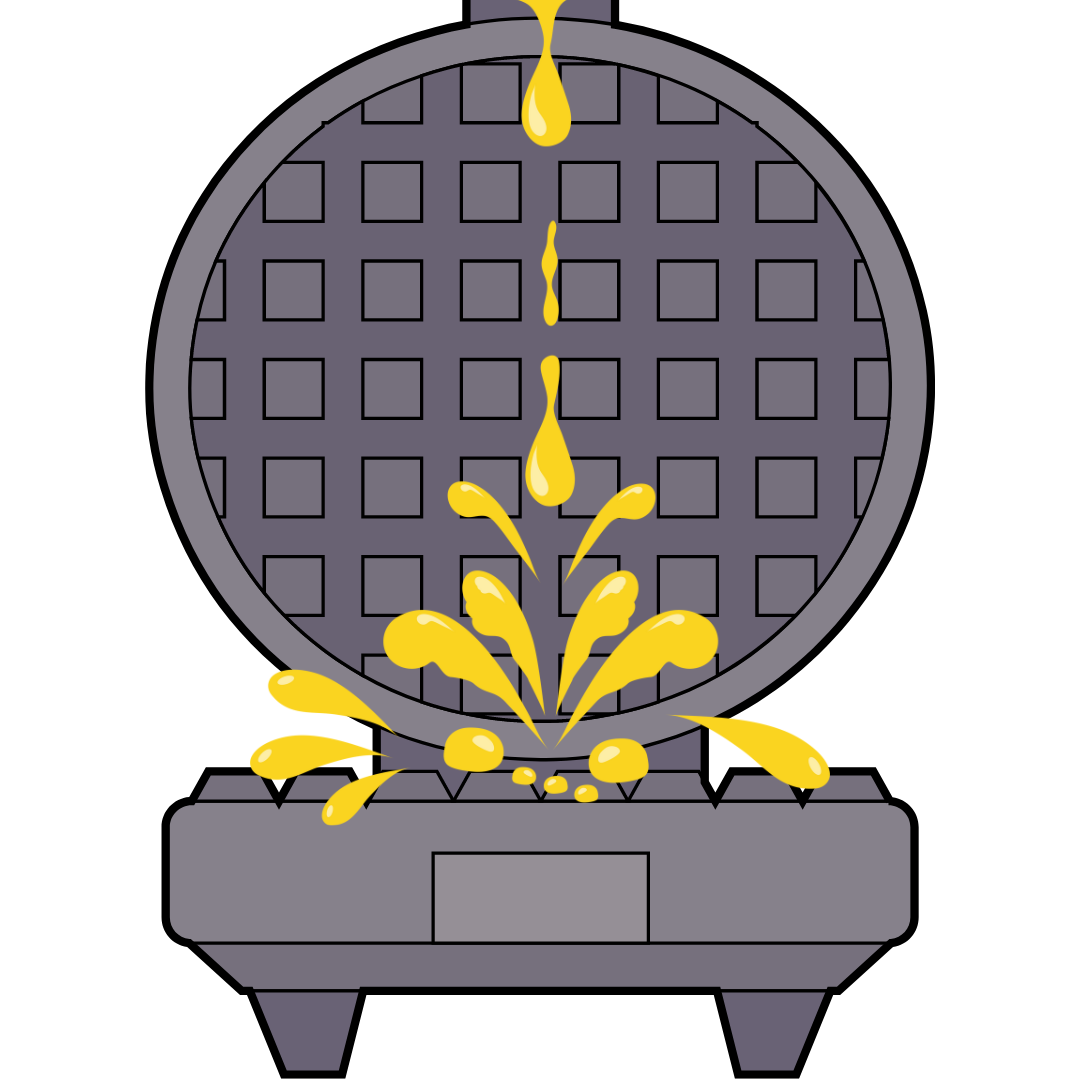
Step 4: Pour But Don't Overfill
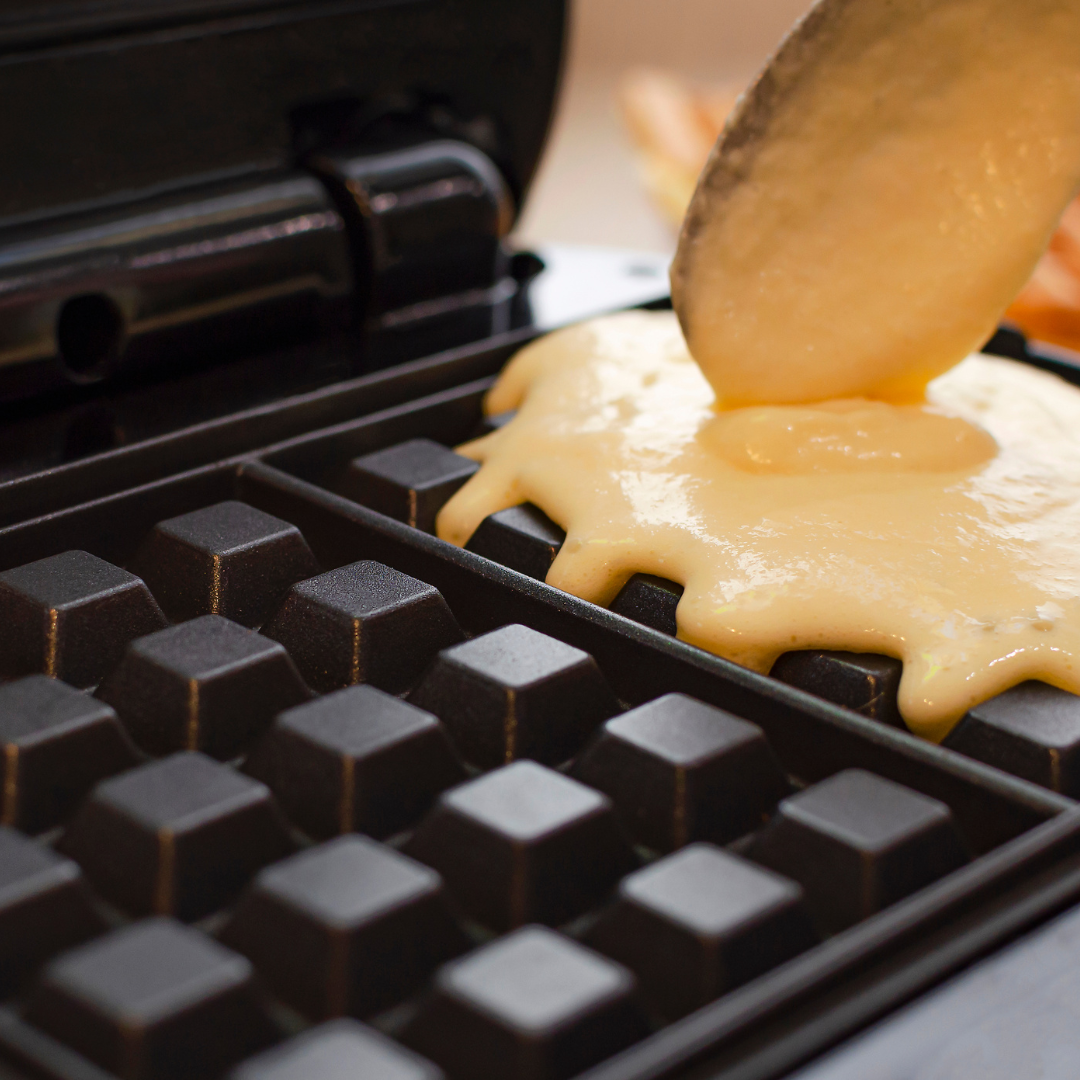
Now pour the batter onto the prepared plates. You should use around 3/4 cup of batter for each waffle. Your waffles will be tall, fluffy, and soft as a result.
Each waffle maker is unique. Make sure to make some adjustments if you need to.
3/4 of a cup is generally enough to avoid overfilling the waffle iron. Otherwise, the batter will pour out the edges once the lid is closed.
Step 5:Close the Lid and Set a Timer

After you've poured in the batter, close the lid.
Fasten the clasp, if your waffle maker has one.
Wait till it cooks and it typically takes four to six minutes to fully cook.
Turn off the waffle maker after four minutes if you like your waffles lightly browned. Six minutes should do it if you like them golden brown.
Only a few waffle makers include a built-in timer and if yours doesn't, set an automatic timer or use your phone's timer to keep track of the cooking process. You don't want undercooked or burned waffles, do you?
Step 6: Enjoy!
Remove the waffles from the waffle maker and serve them!
The waffles should easily release from the waffle plates. If it doesn't, wait a minute for them to cool down before using cutlery to free them.
Utensils made of silicone, plastic, or rubber are preferred. They will not scratch your waffle maker, unlike metal utensils and this is especially critical if you're using a nonstick waffle maker.
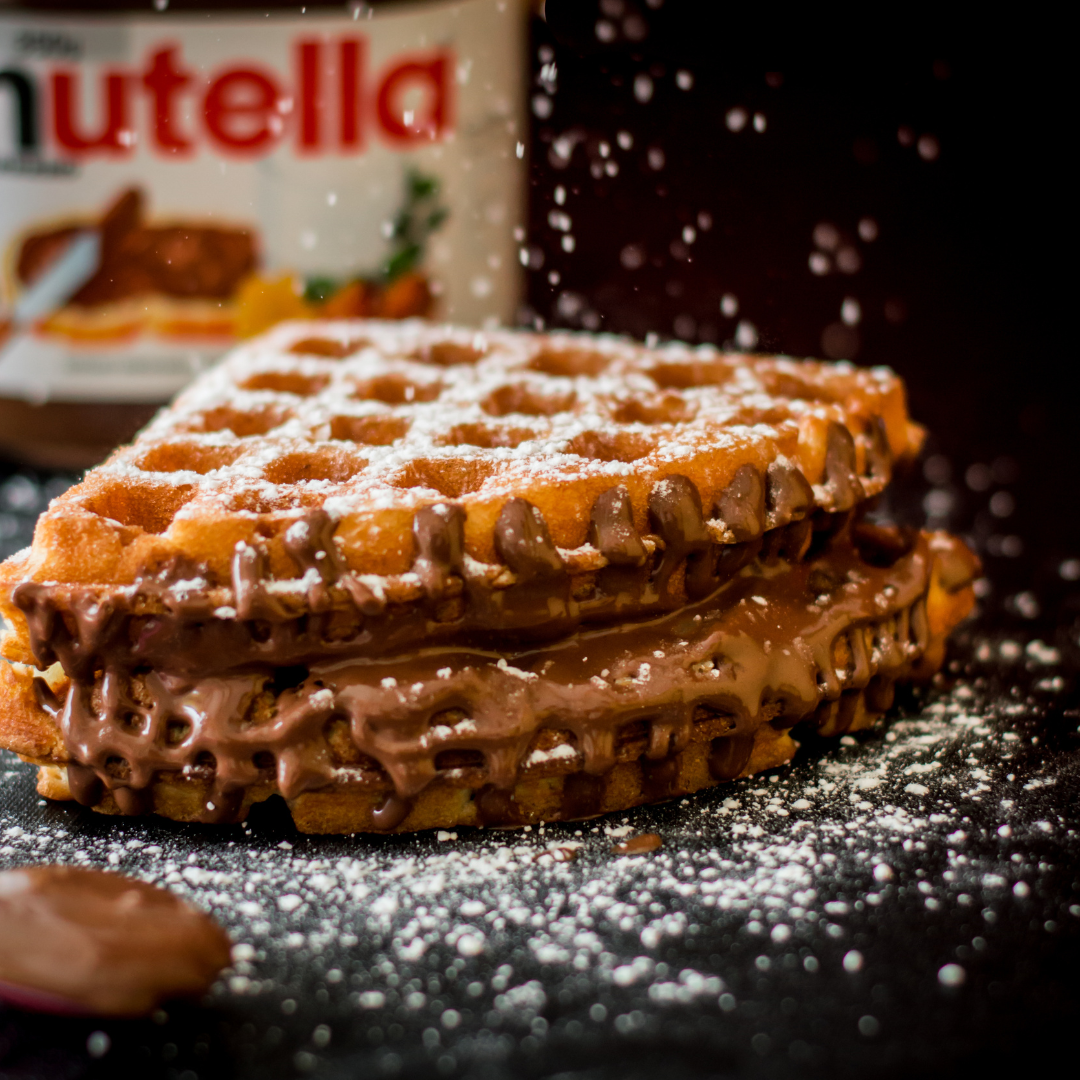
You can customize it however you like! Add your toppings such as butter and maple syrup, fresh fruit like berries, and chocolate chips.
Protip: Top it with ice cream or Nutella.
Best Tips When Using Waffle Iron
Keep Your Waffles Warm!
Cold waffles aren't as enjoyable as freshly made waffles.
- You can keep them warm by placing the freshly cooked waffles on a lined baking sheet in a warm oven or by wrapping them in a clean paper towel or dry towel.
- To prevent overcooking, choose the lowest temperature setting feasible.
Don't Open the Waffle Maker While it Cooks
Patience is a virtue while making waffles, and it pays off. To ensure a flawlessly cooked breakfast, avoid opening the waffle maker while it is cooking and set a timer, trust the process, and patiently wait.
Store Leftover Waffles for Freezing
Estimating isn't always our strongest skill and if you feel like you made extra batches, there's no need to toss away extra waffle batter or waffles if you prepared too many.
Freeze the cooked waffles in a plastic zip-lock bag, reusable sandwich bag, or both and you can store them for up to three months.
When you're ready to consume them, simply place them in the toaster and allow them to thaw. If your toaster has a defrost function, even better!
Types of Flip Waffle Makers
Commercial vs. Consumer Waffle Makers
Commercial flip waffle makers are the kind seen in commercial kitchens and you may have used one at a self-service waffle bar while staying at a hotel.
This type of waffle iron\ are built to be used hundreds of times a day to produce a whole bunch of waffles and they work great for these establishments because it's imperative that restaurants and hotels get consistently great-looking and great-tasting waffles every time to keep guests coming back.
A lot of commercial models also have advanced built-in timer functions. They often have a countdown clock and automatic shutoff, if you must be exact. This is probably most helpful for moving people along in a hotel buffet line so no one hogs the machine or starts a fire.
These features, however, aren't required for most standard waffle recipes. Consumer models include built-in timers and brownness adjustments and these are the most accurate when it comes to determining when your waffle is done.
The fundamental distinction between consumer and commercial flip waffle makers is one of durability and cost. Because the ordinary individual will probably only make waffles once a week at most, there is no need to make consumer models indestructible. It simply raises manufacturing costs.
This does not, however, make them less valuable because they are still high-quality appliances. Consumer flip models, on the other hand, use the same technology but with less expensive materials.
Product Feature: Waring WW300BX Commercial Belgian Waffle Maker
Shape and Quantity
The most typical shape made with flipping models is round waffles. This covers Belgian-style as well as "Classic" American waffles (waffles with smaller squares and shallower pockets). But it isn't all. There are additional flip waffle makers that generate square waffles, little Belgian waffles, waffle cones, and the latest craze, bubble waffles, albeit these are less widespread.
There are also numerous possibilities for the number of waffles that can be made at any given time. The majority are single or double-flip waffle machines. Using a side-by-side, double-flip design, some commercial models can generate up to four enormous round Belgian waffles at once.