Jul 1st, 2022 Culinary Depot Team
How to Properly Clean Hobart Meat Slicer
Both uniformity and precision are important qualities in the commercial kitchens of even the busiest restaurants, especially when it comes to slicing. A Hobart slicer is a food preparation tool used to cut foods into uniform slices. Whether you need to chop vegetables, deli meat (like ham), cheese, or charcuteries, Hobart slicers deliver precision with every cut. Slicers not only improve the final presentation of the products, but they also help increase production, which ultimately leads to more sales.
Slicers are used for a variety of purposes, but their versatility is one of the reasons they are relied upon by so many different industries. Hobart offers slicing solutions for both heavy-duty applications and medium-duty applications They’re utilized in delis, restaurant chains, retail stores, and more.
Slicers are so commonly used that they’re an integral part of daily operations. It’s important that they be cleaned properly. Here are a few reasons why:
- Cleaning can ultimately extend the lifespan of your slicer and save you time and money
- Regular cleaning and sanitation can prevent any food-borne diseases and ensure the safety of consumers.
So, how do I properly clean a Hobart slicing machine? Here’s a step-by-step guide on how to safely clean a Hobart slicer and keep it running smoothly for years to come.
How to Clean a Hobart Meat Slicer
General Steps:

- Step 1: Prepare & Disassemble
- Step 2: Clean the Surfaces
- Step 3: Disassemble Parts on the Machine
- Step 4: Clean and Sanitize parts
- Step 5: Clean Under the Machine
(Check out this article about general cleaning of a meat slicer)
Tools for Cleaning

- A bottle of mild detergent (stainless-steel safe)
- Liquid sanitizer
- Stainless Steel Cleaner
- Hobart lubrication kit or any EOM-equivalent lubrication kit
- Cut-resistant gloves
- Warm water
- Soft cloths
- Paper towel
- Soft-bristle scrub brush
- Tube brush
- Knife removal tool
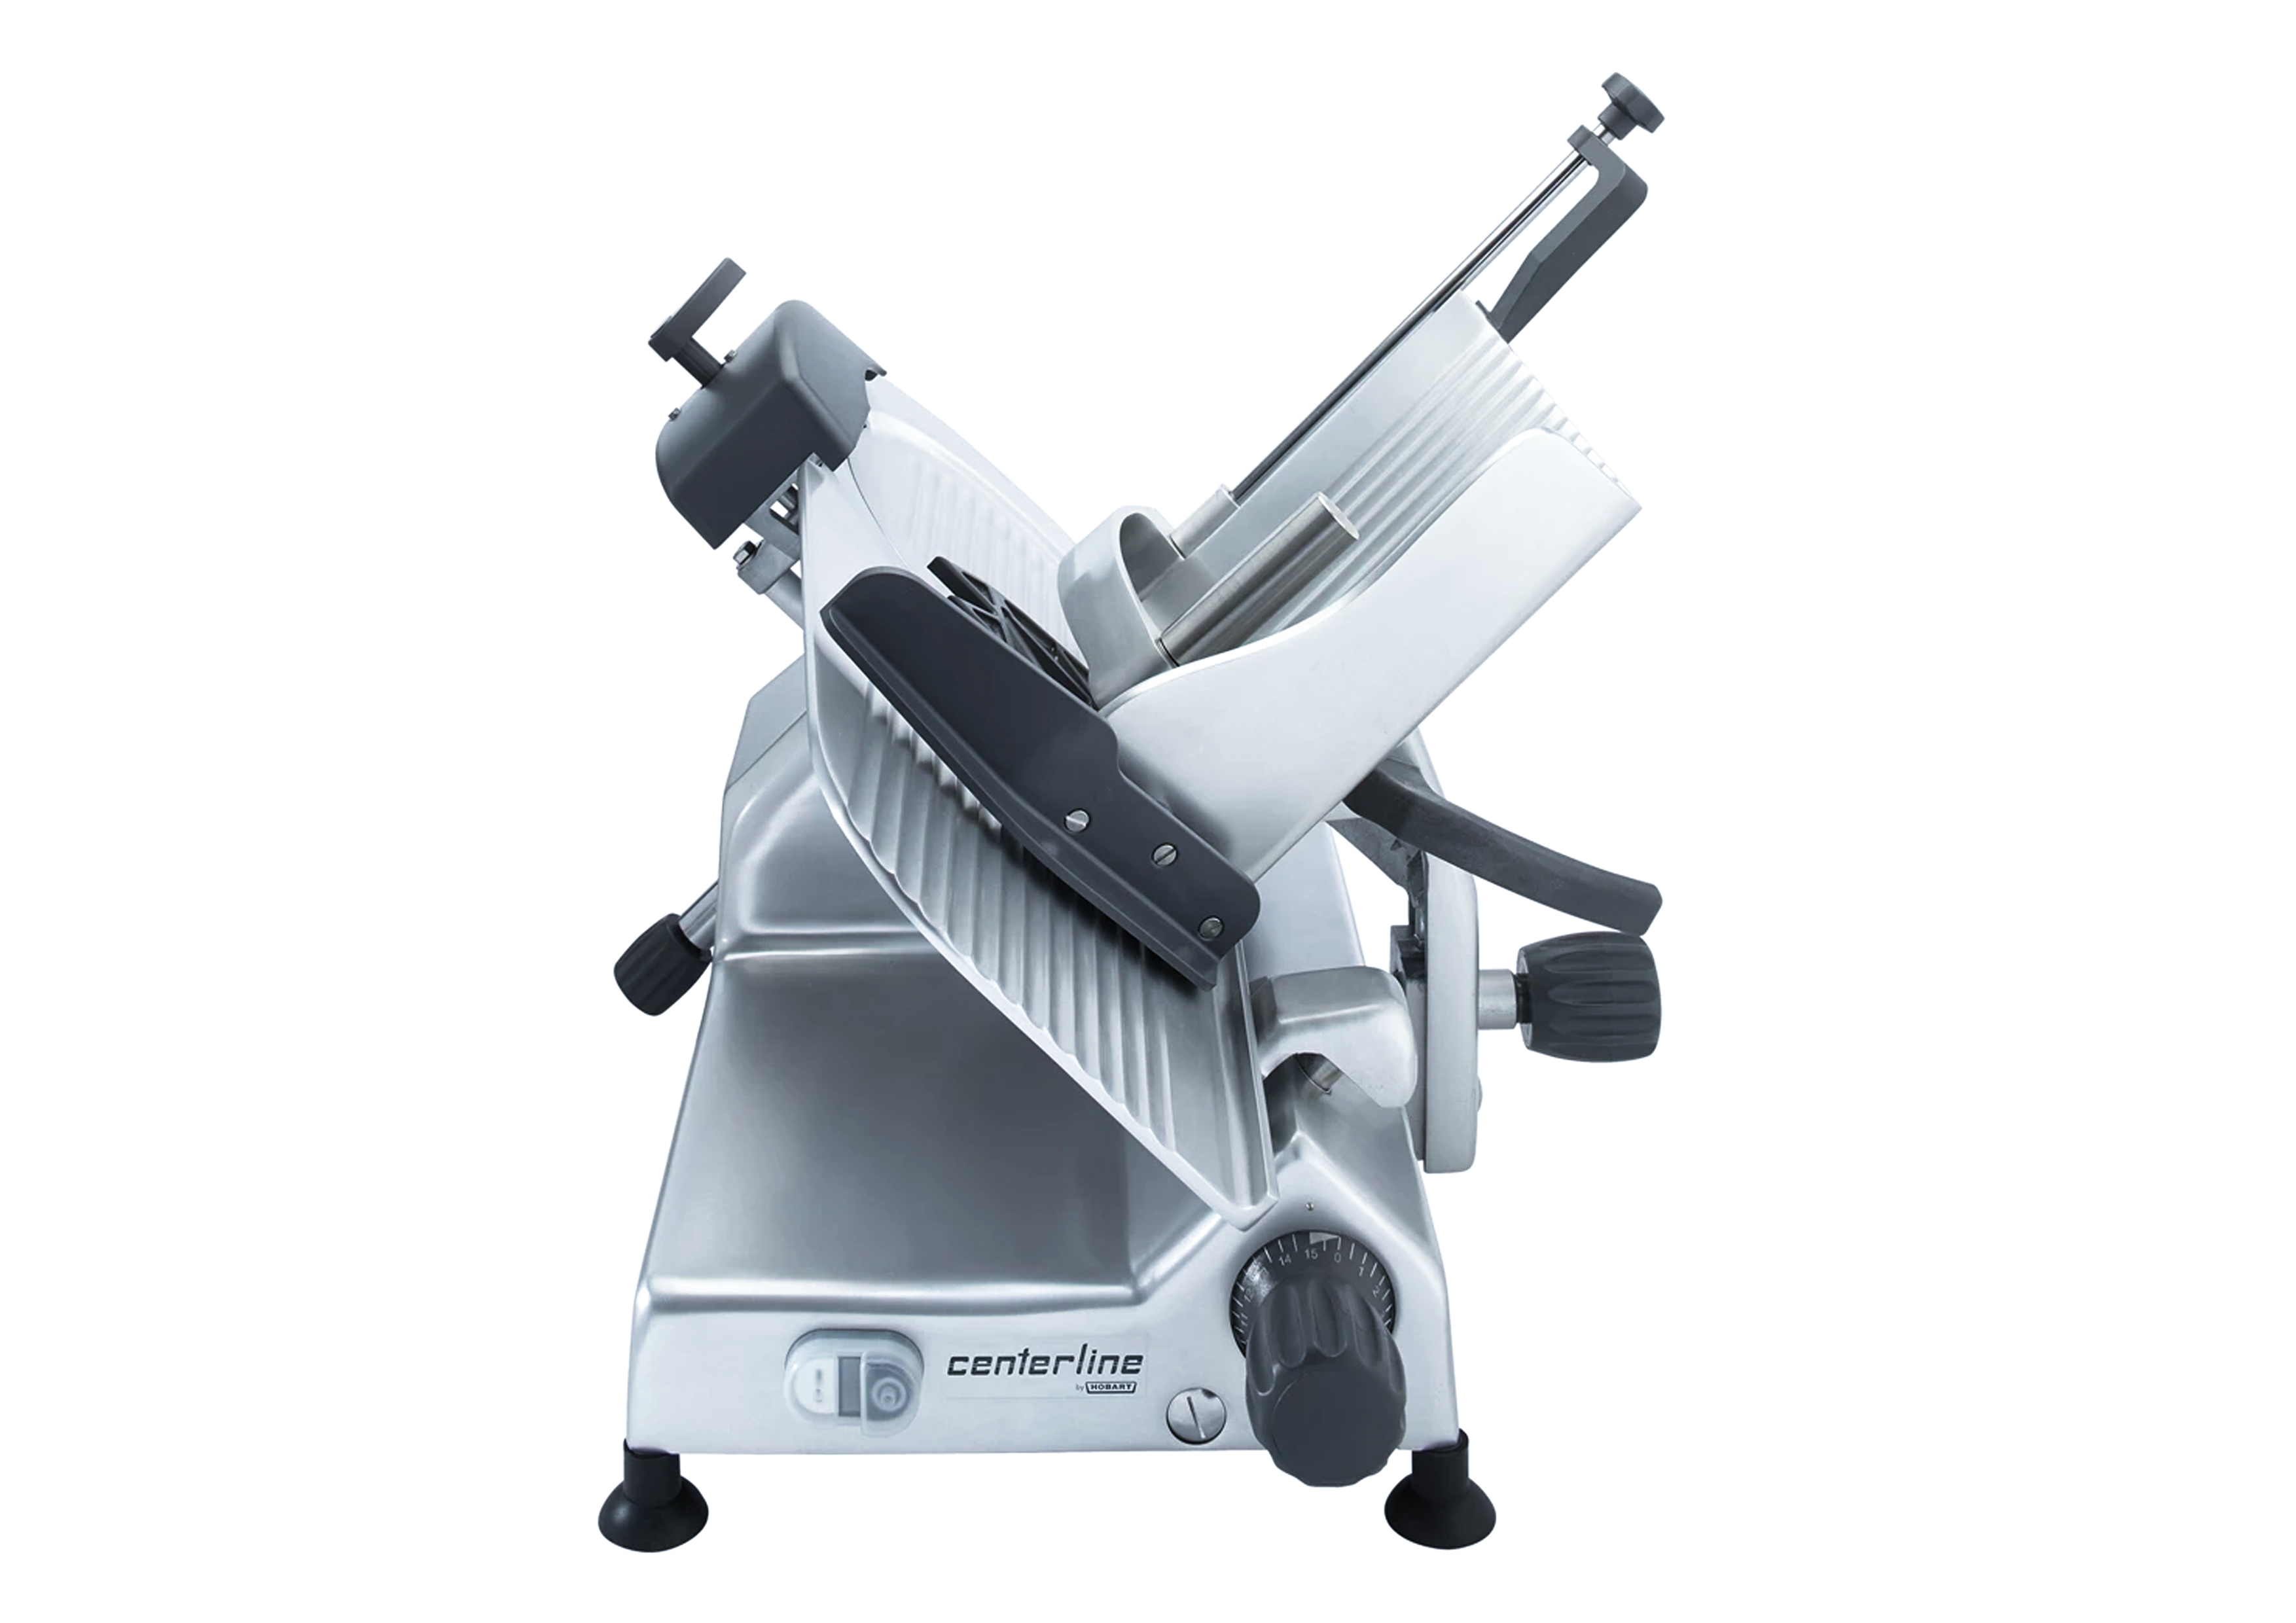
How to Clean a Hobart EDGE Slicer
Step 1: Preparation for Cleaning
Wear protective gloves during the cleaning process.
- First, turn the commercial meat slicer off.
- Then, unplug the power cord.
- Turn the index knob fully clockwise to close the gauge plate.
Step 2: Surface Cleaning
- Soak a clean towel into a mixture of mild detergent and hot water.
- After that, wipe down the surfaces with a clean cloth.
- After cleaning the surfaces thoroughly, rinse the surfaces with fresh water.
Step 3: Properly Disassemble Parts on the Machine
Make sure to check the official manual meat slicer for more detailed information about disassembling.
Remove each of these items by following the steps below in the order listed

- Carriage tray: To remove the carriage tray, make sure to first close the gauge plate by pulling the carriage to the front. After that, unfasten the knob and lift the tray straight up.
- Knife cover – To remove the knife cover, unscrew the knob on it and remove the rod, and lift the cover free from the guide pin.
- Deflector – When removing the deflector, you have to first unfasten the hex-headed pin which should allow you to slide the deflector down and clear the pin.
- Sharpener – The Light sharpener should come straight off its post.
Step 4: Clean and Sanitize parts
- Wash each part in a sink with warm water and mild detergent. (You can also use a bar of non-abrasive soap.)
- Use a clean cloth or soft bristle brush to scrub carefully.
- Make sure to clean any residue inside the sharpener housing on the machine.
- Sanitize each part using an appropriate sanitizer.
- After each part has dried, assemble accordingly.
Step 5: How to Clean the Surrounding Area & Ring Guard
- You can use a moistened, folded piece of paper towel to clean around the area.
- After that, insert the paper towel into the ring guard’s base and manually rotate the blade.
- As the knife rotates, so will the paper towel.
- It will wipe the guard and the edge of the gauge plate as it goes.
Step 6: Make sure to Wash & Sanitize the Knife

- Use mild dish soap and a clean, soft-bristled brush to clean the knife.
- Make sure to wipe away from the center of the knife blade, moving outward.
- After that, clean out the knife handle using a toothbrush. After removing the residue from both areas, wash them with a separate cloth or clean brushes.
Step 7: Clean Under the Machine
- Raise the slicer and swing the cutting blade underneath the machine straight down.
- When the leg comes down, pull it all the way to the front.
- The machine should be fully supported.
- Clean underneath the machine using a damp cloth with warm soapy water and detergent.
- Rinse and dry using a separate cloth.
Step 8: Lubricate

Before putting the parts back together, lubricate your slicer. Lubricating slide rails, meat grips, and other parts of the slicing machine not only extends the life expectancy of your machine but also helps put less stress onto your slicer blade between sharpenings.
How to Clean a Hobart HS Slicer
Follow the instructions below for cleaning Hobart HS slicers:
Step 1: Preparation for Cleaning
- Wear protective gloves during the cleaning process.
- First, turn the machine off.
- Then, unplug the power cord.
- Turn the index knob fully clockwise to close the gauge plate.
Step 2: Surface Cleaning
- Soak a clean towel into a mixture of mild detergent and hot water.
- After that, wipe down the surfaces with a clean cloth.
- After cleaning the surfaces thoroughly, rinse the surfaces with fresh water.
Step 3: Disassemble Parts of the Machine
Below are removal procedures to follow while cleaning the slicer:

- Sharpener: The sharpener, is on the top of the slicer, and to disassemble, lift the sharpener straight up.
- Meat Grip: To remove the meat grip, first hold the meat grip handle, then pull the slide rod out of the product tray. Next, loosen the meat grip. You’ll be able to remove the handles, grips, and washers from the meat grip.
- Product tray: With the gauge plate closed, push the product tray toward the operator. Loosen the support arm’s knob, and tilt the tray to the right. You can either clean it in the open position or by removing it. To fully remove the tray, grasp it with both hands and lift it straight up.
- Top knife cover and ring guard: Remove the top knife cover by lifting up the latch knob. This will help remove it from the magnet. After removing the ring guard cover, lift it up.
- Removable knife: With the gauge plate closed, turn the knife unit until its arrow aligns with the 1 o’clock position on the ring guard. The ridge on the blade hub will align with the pin. Insert the knife removal tool into the slot on the ring guard, fitting the tool into the three pins on the ring guard. The removal tool also includes a pin that fits into a hole on the blade (11 o’clock position). After the tool is in place and the handle is pressed firmly all the way into it, push the handle firmly into the hub. Turn the handle counterclockwise until it locks. Next, lift the knife and tool up and out.
Read the user manual for more removal and assembly help
Step 4: Clean the Disassembled Parts
Below are the steps for cleaning the different parts of the machine.

- To clean the Sharpener: Start by cleaning out the residue in the sharpener using a damp cloth and mild soap. After that, wash the sharpener thoroughly in a dishwasher or sink. To clean in a sink, use warm water to wash and rinse. When using a sponge, use mild detergent and a soft-bristle brush.
- To clean the meat grip: Wash in a sink using warm water to wash and then rinse. Use a cloth or a soft-bristle toothbrush when brushing.
- To clean the Product Tray: Wash in a sink using warm water to wash and then rinse. When using a cloth or soft-bristle brush, use gentle strokes. Use a tube brush to clean the product tray‘s pins.
- To clean the Top Knife Guard and Ring Guard: Wash them in a dishwasher or hand in a sink. To clean in a sink, run hot water to wash and rinse dishes. Use mild soap and a clean, soft-bristled brush when washing the parts.
- To clean the removable parts of the knife: Wash them in a dishwasher or sink. To clean in a sink, use hot water to wash and cold water to rinse. When cleaning, use mild soap and a soft-bristled brush.
- To clean the non-removable part of the knife: – Start by cleaning its ring guard area thoroughly. Use a wet, folded paper towel to clean the inside of the ring guard. After that, clean the knife using some mild detergent and a soft-bristled brush. Make sure to wipe starting at the center of the blade and moving outwards. After the residue has been removed from the knife and guard area, use a clean cloth or brush to remove any remaining residue.
Step 5: Sanitize parts
- Sanitize each part with a suitable sanitizer.
- Use a clean cloth or soft bristle brush to scrub carefully.
- Make sure to clean any residue inside the sharpener housing on the machine.
- After all parts are dry, assemble them back into the machine. The HS Operation Manual has more instructions on these procedures
Step 6: Clean Under the Machine
Clean underneath the machine using a damp cloth with warm soapy water. Rinse and dry using a separate cloth. Each HS Series model comes with different ways of keeping it raised for cleaning. Here are specific instructions:
- HS6 and HS8 – Models like these use a cleaning leg. When you lift the slicer off the front base, the cutting blade will swing straight down. Pull it all the way to the front, allowing the machine to have space for cleaning underneath.
- HS7 and HS9 – Models like these use a gas-assist spring. Place your hands under the front base, and lift up until it stops. The machine will remain raised. When done, push down on the bottom to lower the machine.
Step 7: Lubricate

Before putting the parts back together, lubricate your slicer. Lubricating slide rails, meat grips, and other parts of the slicing machine not only extends the life expectancy of your machine but also helps put less stress onto your slicer blade between sharpenings.
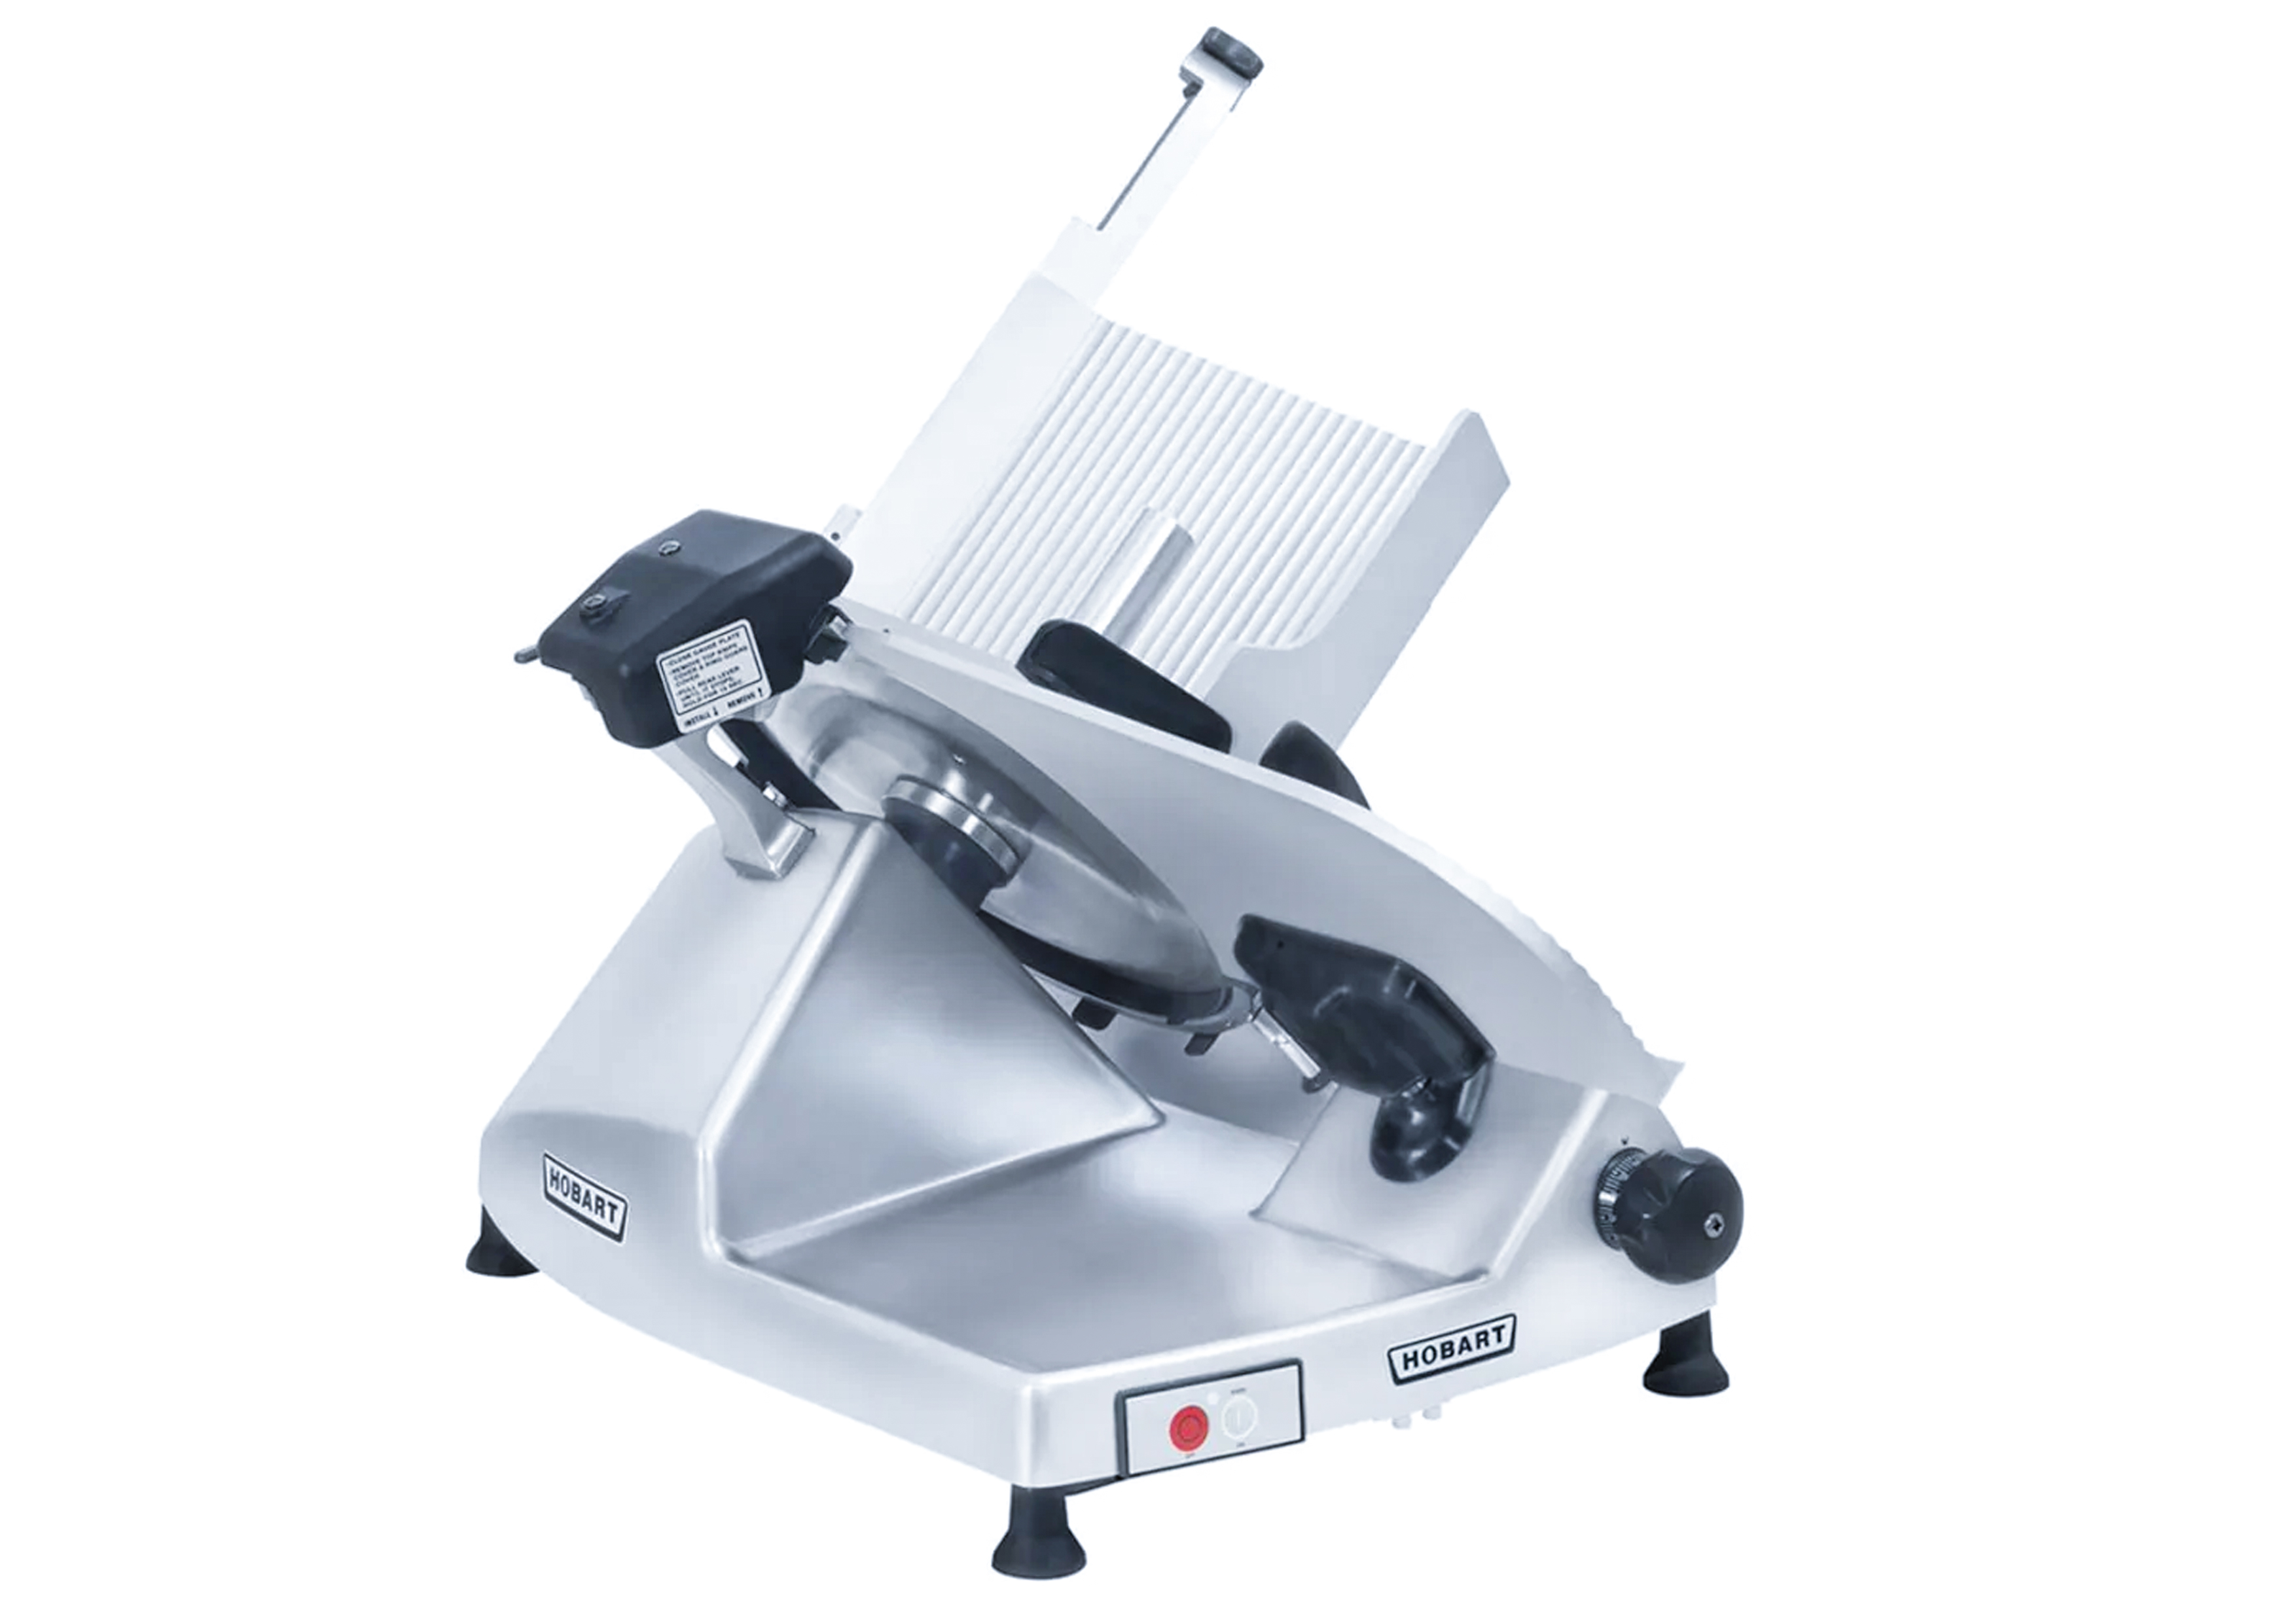
How to Clean a Hobart 1612E, 1712E, 1812 & 1912 Slicer
Step 1: Preparation for Cleaning
- Wear protective gloves during the cleaning process.
- First, turn the machine off.
- Then, unplug the power cord.
- Turn the index knob fully clockwise to close the gauge plate.
Step 2: Surface Cleaning
- Soak a clean towel into a mixture of mild detergent and hot water.
- After that, wipe down the surfaces with a clean cloth.
- After cleaning the surfaces thoroughly, rinse the surfaces with fresh water.
Step 3: Clean the Ring Guard
Below is the procedure for cleaning the machine’s ring guard:
- Soak a thin piece of cloth with mild detergent, and place it between the ring guard of your knife and the blade.
- Put your right hand above the gauge plate and your left hand below the gauge. Hold the cloth with both hands. Work it between the ring guard (on top) and the knife (below).
- Wrap the cloth around the entire guard. Make sure to repeat this process until there are no residues left.
Step 4: Make sure to Wash and Rinse the Knife
Use a clean cloth and warm water mixed together with some detergent. Wipe the blade clean by wiping away from the middle. After using the wipe, rinse it off with a separate cloth and then use warm water to clean it. After cleaning the knife, dry it off with a clean cloth.
Step 5: How to Clean the Top Knife Cover, Deflector, and Sharpener
Remove the top knife cover by turning the latch knob, and take off the deflector from the knife support. After removing the sharpener, remove the blade from the knife.
Wash each part using clean, warm water and mild detergents. After cleaning, wipe the parts with a clean cloth and warm water. Rinse thoroughly. When they’re dry, assemble the top knife cover, the deflector, and the sharpener on the machine again.
Step 6. Make sure to Clean Under the Machine
Use a damp cloth with warm soapy water to clean underneath the machine. After that, rinse and dry using two different cloths. Each of the models has slightly different procedures for removing dirt from under the unit.
- 1612E & 1812 models – For these models, raise the index knob end and support it with the cleaning leg.
- 1712E, 1912, and select 1812 models – For these models, raise the lift lever past the center to its stop.
Step 7: Lubricate
Before putting the parts back together, lubricate your slicer. Lubricating slide rails, meat grips, and other parts of the slicing machine not only extends the life expectancy of your machine but also helps put less stress onto your slicer blade between sharpenings.
Importance of Cleaning And Sanitizing Your Commercial Slicer
Cleaning and sanitizing your slicer can help prevent the spread of foodborne illnesses. If you don’t have a good cleaning and sanitation procedure, then bacteria is allowed to build up in hard-to-get areas of the slicer, which can lead to a dirty slicer. This buildup of bacteria could be potentially dangerous for customers who visit your establishment It can contaminate food items (especially meats) while making customers sick.
Likewise, you run a risk of altering the texture or taste if you don’t remove the past food particles. A meat slicer transfers these past contaminants later on.
Cleaning and sanitary conditions help to ensure that your commercial meat slicer performs well. It’s always a good idea to create a maintenance checklist. Checklists help employees be sure they’re following the correct procedures when using the equipment. They also help ensure that the right things get done.
Steps to take Before Cleaning Your Hobart Slicer:
To get the most out of your cleaning and sanitization process, always follow these quick tips:
- Make sure to always unplug the slicer. Never touch the knife with your hand, as the slicer could still carry momentum and may cause you harm.
- Ensure that you have set your thickness to zero to avoid running your hand or the cleaning rag over the knife.
- Follow the manufacturer’s instructions for mixing your own cleaning and sanitizer solutions. Use a cleaning solution that can eliminate animal fats, oils, and proteins that are tough to remove. Likewise, you will have to use an approved food contact safe sanitizer.
Follow the chemical manufacturer’s dilution rates and be careful when creating solutions.
Getting Hobart Machines?
Here at Culinary Depot, we carry a wide range of Hobart Meat Slicer Machines. Not sure what is suitable for you and your needs? Contact us now or visit our online store for more information.
.